Stem Stitch: How to Embroider Smooth Stems and Outlines
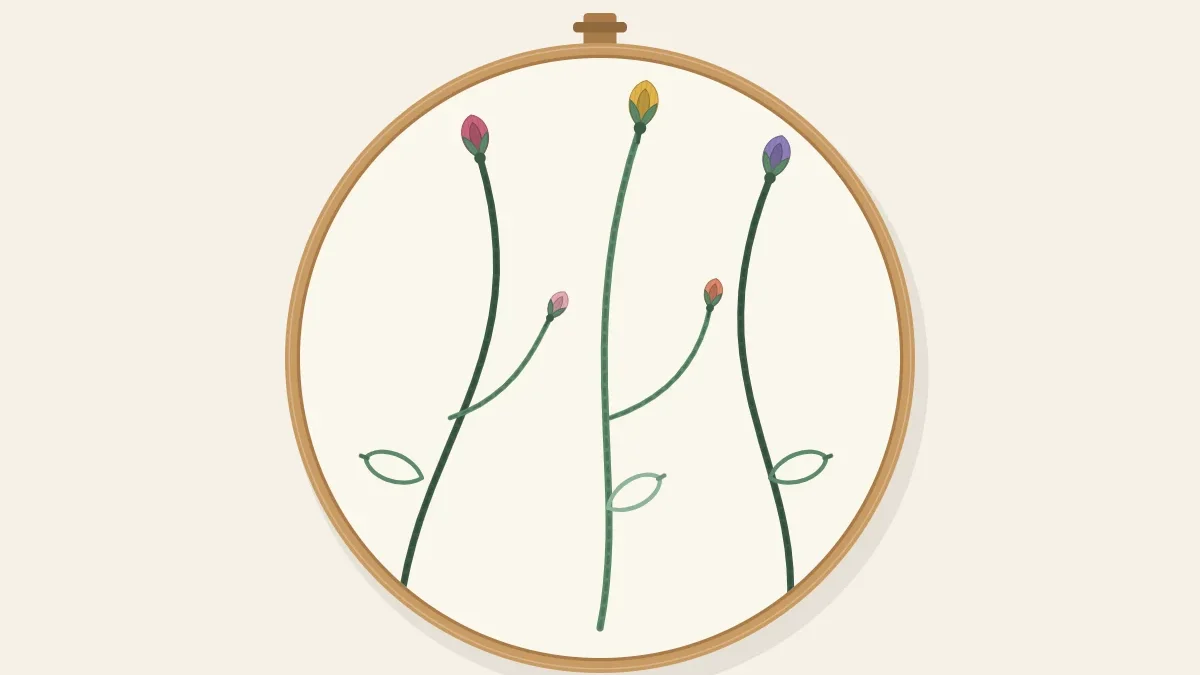
Stem stitch makes a rope-like line for flower stems and curved outlines. Learn the steps, why the thread stays on one side, and how to handle curves and joins.
Tutorial at a glance
Materials
- Six-strand cotton embroidery floss in green
- Embroidery needle size 7 or 8
- Water-soluble pen
- 6 in (15 cm) hoop
- Small embroidery scissors
Stem stitch draws a line that looks like fine twisted rope. Each stitch overlaps the one before it by half its length, and because the working thread is kept on the same side of the needle from the first stitch to the last, every overlap leans the same way. That consistent lean is the whole stitch.
Thread, Needle and Stitch Length
Two strands of six-strand cotton embroidery floss on an embroidery needle size 7 or 8 give a fine stem for small flowers. Three strands make a sturdier line for a main stalk, and all six on a size 5 needle make a thick, cord-like stem for a large bloom. Cut the floss about 18 inches (45 cm) long.
On a straight or gently curved line, aim for stitches about 1/4 inch (6 mm) long, so each new stitch shows 1/8 inch (3 mm) beyond the last.
Stem Stitch, Step by Step
Draw a line 3 inches (7.5 cm) long. The steps below work from left to right with the thread held below the line, toward you. The numbers match the needle points in the diagram.
- Come up at 1. Bring the needle up at the left end of the line.
- Go down at 2. Insert the needle 1/4 inch (6 mm) along the line, but do not pull the thread tight yet. Leave a small loop and hold it below the line with your thumb.
- Come up at 3. Bring the needle up on the line halfway between 1 and 2, above the held loop and right beside the stitch. Now pull through until the first stitch lies flat.
- Go down at 4. Insert the needle a full stitch length ahead of 3, which is 1/8 inch (3 mm) past 2. Again hold the loop below the line.
- Come up at 5. Bring the needle up halfway back, at the end of the first stitch and beside the second. Pull through.
- Repeat to the end. Every stitch goes down one length ahead and comes up halfway back, in the hole where the previous stitch ended, with the thread always below.
- Finish the line. Take the last stitch down at the end of the line and fasten off on the back by running the thread under several stitches.

The Thread Stays on One Side
If the loop is below the line for one stitch and above it for the next, the overlap flips direction and the rope breaks into a zigzag. Keep the thread below for the entire line. Holding the loop down with the thumb of your free hand until the needle has come up above it removes the guesswork.
Keeping the thread above the line the whole way also makes a neat line, with the twist running the opposite way. That version is usually called outline stitch. Either is fine; mixing the two in one line is the mistake.
Tip
On a curved stem, keep the thread on the outside of the curve. The stitches then wrap around the bend and lie flat instead of standing away from the line.
Shorter Stitches on Curves
A straight stitch cannot bend, so a curve is really a series of short straight segments. The tighter the curve, the shorter the stitches need to be. On a gentle arc, 1/4 inch (6 mm) still works. On a tight curl such as a tendril, drop to 1/8 inch (3 mm) or less, so each stitch advances only about 1/16 inch (1.5 mm).
For a sharp corner, such as the point of a leaf outline, end the line at the point with a complete stitch and start a fresh line from the same hole in the new direction. Carrying stem stitch around a sharp angle rounds it off.
Joining Lines and Thickening Stems
- New thread in the middle of a line. Finish with the needle at the back after a down stitch. Bring the new thread up halfway back along the last stitch, as if it were the next step, and carry on.
- A side stem branching off. Start the branch by coming up right against the main stem, slightly tucked under its edge, so the join looks as if it grows out of the stalk.
- A closed outline. On the last stitch, take the needle down under the start of the first stitch so the rope appears continuous.
- A thicker stem. Work two or three rows side by side, touching, all in the same direction. Rows worked in opposite directions twist opposite ways and look mismatched.
Leaves stitched after the stem should begin just touching it; the guide to fishbone stitch leaves covers how to attach them cleanly.
Stem Stitch, Backstitch or Split Stitch
All three stitches make a line, and each has a different surface. The diagram shows them as lines A, B and C.
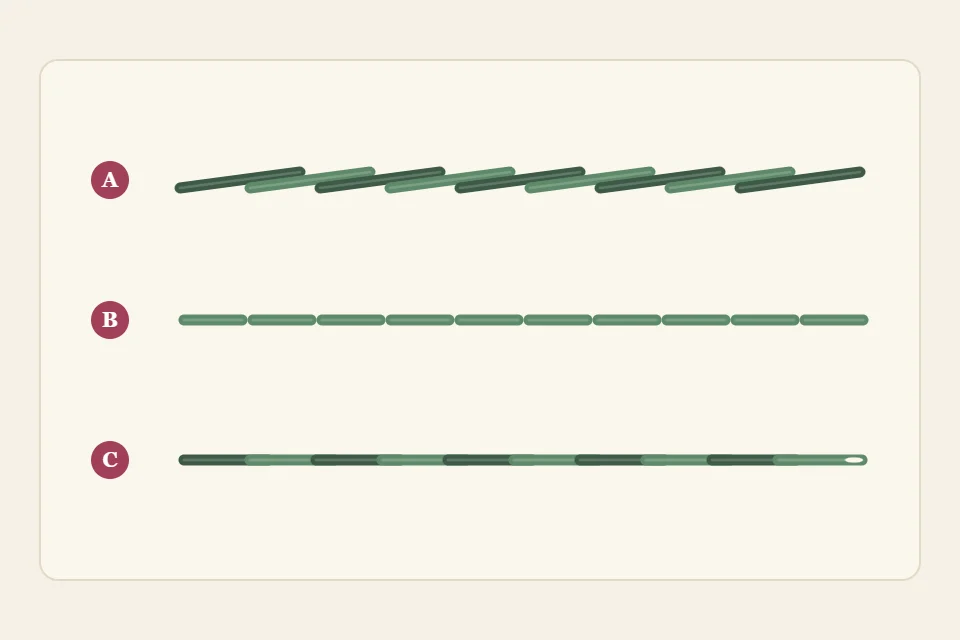
| Line | Stitch | Looks like | Best use |
|---|---|---|---|
| A | Stem stitch | Twisted rope, slightly raised | Stems, tendrils, flowing curved outlines |
| B | Backstitch | Flat dashes placed end to end | Fine straight lines, lettering, sharp corners |
| C | Split stitch | A narrow chain or braid | Thin outlines and the hidden edge under a filled shape |
Split stitch is the usual foundation under satin stitch, as explained in the guide to satin stitch petals. Stem stitch can also fill a shape when worked in a spiral, which is how the stem stitch rose is made. For practice on long woody lines, the cherry blossom branch uses it throughout.
Troubleshooting
- The line looks like separate dashes. The needle is coming up at the end of the previous stitch instead of halfway back. Each stitch must overlap its neighbor by half.
- The twist changes direction partway along. The thread switched sides. Unpick back to the last correct stitch and continue with the loop held below.
- Stitches stand off a curve. They are too long for the bend, or the thread is on the inside of the curve. Shorten them and keep the thread to the outside.
- The fabric puckers along the stem. The stitches are pulled too tight. Stop pulling as soon as each stitch rests on the surface, and check that the fabric is taut in the hoop.
Frequently asked questions
What does the back of stem stitch look like?
A row of small stitches end to end, much like backstitch on the front. That makes it economical with floss compared with stitches that carry long threads behind the fabric.
Can I use stem stitch for lettering?
Yes, for flowing script with gentle curves. For small block letters with sharp corners, backstitch is easier to control.
Should stems be stitched before or after the flowers?
Usually before. Flower heads and leaves can then overlap the end of the stem and hide where it starts and stops.
Is it better to stab the needle up and down or to scoop it through the fabric?
On drum-tight fabric in a hoop, stabbing in two movements gives more control over where the needle comes up. Scooping in one movement is faster but works best on fabric held with some slack.