Floral Border Embroidery Pattern: Design a Repeat That Fits
Draw a 2-inch repeat of a flower, a leaf pair and a bud, fit it to the edge of a napkin or towel with simple arithmetic, and turn the corners cleanly.
Tutorial at a glance
Materials
- Prewashed cotton or linen napkin, towel or garment hem
- 6-inch (15 cm) embroidery hoop
- Six-strand cotton embroidery floss: green, a flower color, a darker shade for buds, yellow
- Embroidery needle, size 7
- Ruler or tape measure
- Water-soluble pen
- Paper strip for the template
- Small embroidery scissors
A floral border is one small motif stitched again and again along a line. The design work is in the single unit; the rest is arithmetic, because the repeats have to fit the edge exactly and meet neatly at the corners.
The repeat unit
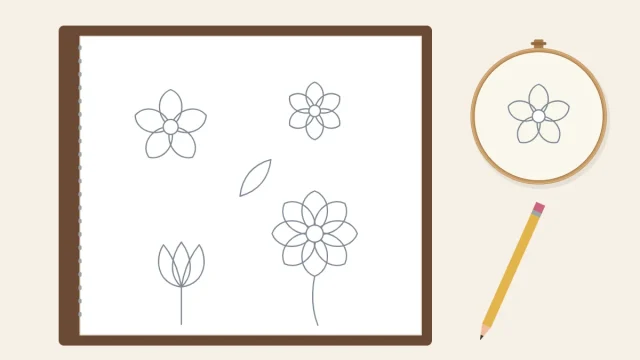
One unit is 2 inches (5 cm) wide and about 3/4 inch (2 cm) tall. Draw it on paper inside a 2 x 3/4-inch box:
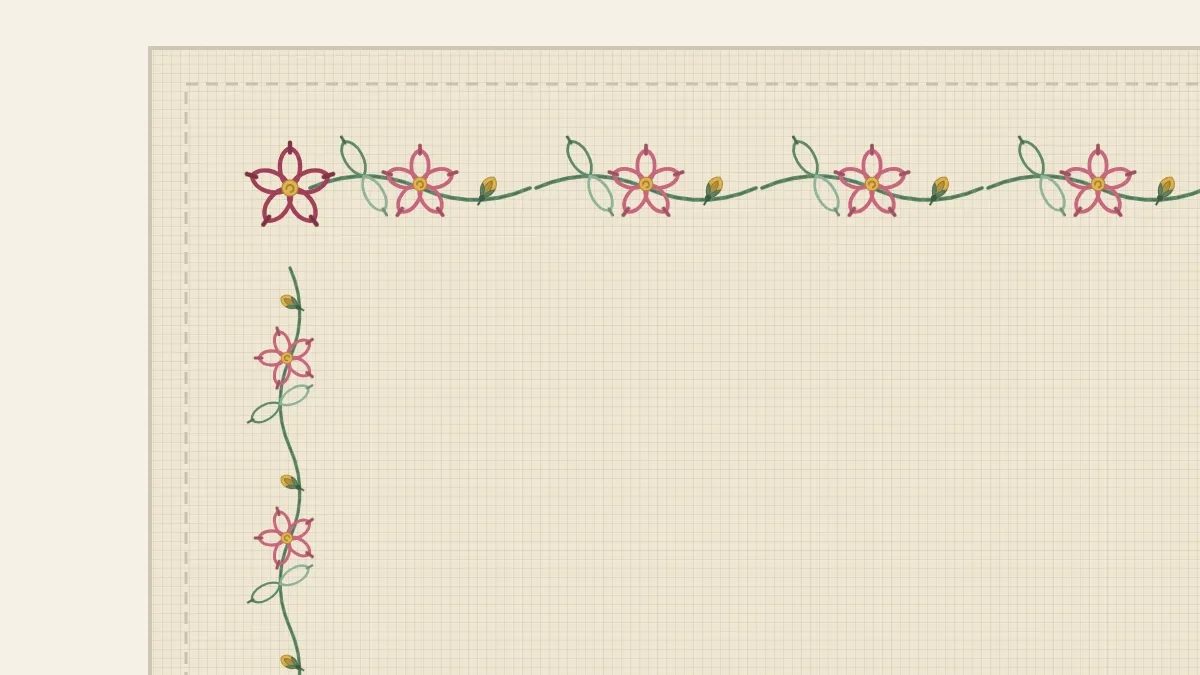
- Base line. A shallow wave running the full 2 inches along the bottom of the box: one gentle rise and one gentle dip, starting and ending at the same height so that each unit joins the next.
- Flower. 1/2 inch (1.2 cm) from the left side of the box, a five-petal flower 1/2 inch (1.2 cm) across on a 1/4-inch (6 mm) stalk. Mark it as a center dot with five dots around it.
- Leaf pair. At the middle of the unit, two leaves 1/4 inch (6 mm) long, one angled up to the left and one up to the right, growing from the same point on the base line.
- Bud. 1/2 inch (1.2 cm) from the right side of the box, a single bud 3/16 inch (5 mm) long on a 3/8-inch (1 cm) stalk that leans slightly to the right.

Fabric and thread
The border suits a prewashed cotton or linen napkin, tea towel or hem with a plain, fairly even weave. The example here is a napkin, since it has four corners to deal with. Use six-strand cotton embroidery floss in green, a flower color, a darker shade of it for the buds, and yellow. Household linens are washed often, so check that the floss is colorfast before starting. The embroidery thread guide describes a quick test on a damp white cloth.
Measure the edge and fit the repeats
- Set the border line. Decide how far in from the edge the base line will sit. On a hemmed napkin, 1 1/4 to 1 1/2 inches (3 to 4 cm) keeps the stitching clear of the hem and inside the reach of the hoop.
- Measure the run. Measure the border line from corner point to corner point. On an 18-inch (46 cm) napkin with the line 1 1/2 inches in, the run is 15 inches (38 cm).
- Reserve the corners. Take 1/2 inch (1.2 cm) off each end for the corner motif. That leaves 14 inches (35.5 cm).
- Divide by the unit width. 14 divided by 2 is exactly 7 repeats. If the answer is not a whole number, round to the nearest whole number and divide the run by that instead: a 13-inch run is 13 / 6 = about 2 3/16 inches per unit, or 13 / 7 = about 1 7/8 inches.
- Adjust the drawing, not the count. Stretch or squeeze the spacing between the flower, leaves and bud to suit the new unit width. The motifs themselves stay the same size.
Mark the border on the fabric
Draw the full run of repeats in ink on a strip of paper as long as the edge. Press the napkin, then draw the border line on the fabric with a ruler and the water-soluble pen, measuring in from the edge every few inches rather than once. Mark the corner points, then tick off each unit boundary along the line.
Trace the units from the strip using a window or a light source, matching the paper to the tick marks as you go so small errors cannot build up along the edge. Other ways of transferring a design work better on thick or dark towels.
Turning the corners
A repeat that runs neatly along a straight edge has to do something at a right angle. There are three reliable ways to handle it.
| Method | How it works | Best for |
|---|---|---|
| Corner flower | Place one larger flower, about 3/4 inch (2 cm) across, exactly on the corner point. Both base lines run into it and stop. | Beginners; hides any mismatch between the two edges |
| Mirrored corner | Draw a diagonal line through the corner point at 45 degrees. Let the base line curve around the corner and place a leaf pair along the diagonal, so the two sides mirror each other. | A continuous, vine-like border |
| Open corner | Stop each run 1/2 inch (1.2 cm) short of the corner point and leave the corner empty, or add a single French knot. | Small pieces and narrow hems |
Whichever you choose, use it on all four corners.
Stitch the border
Use two strands throughout, in a size 7 embroidery needle, and cut the floss to about 18 inches (45 cm). Hoop about three repeats in a 6-inch (15 cm) hoop, stitch them, then move the hoop along.
- Work the base line. Follow the wave in stem stitch with green, stitches about 1/8 inch (3 mm) long, keeping the thread on the same side of the needle all the way along the edge.
- Add stalks and leaves. Stitch the flower and bud stalks in stem stitch. Work each leaf as a single detached chain stitch pointing away from the base line.
- Stitch the flowers. Work five petals from the center dot out to the five outer dots in lazy daisy stitch, then put one yellow French knot, wrapped twice, in the middle.
- Stitch the buds. Work one detached chain in the darker shade and fill it with a single straight stitch down the middle. Add two tiny green straight stitches in a V at its base.
Keep the back tidy
The back of a napkin or towel is seen and handled, and it goes through the wash. Do not carry thread across the back for more than about 1/2 inch (1.2 cm); end it and start again instead. Skip bulky knots: finish each thread by running the needle under the backs of four or five stitches before trimming.
Troubleshooting
- The last repeat does not fit. The run was measured once and the error built up. Close the gap with an extra leaf pair, or widen the last two units slightly.
- The fabric puckers along the base line. The stem stitch was pulled too tight or the fabric was slack in the hoop. Re-tension the fabric and let each stitch lie flat.
- A ring is pressed into the cloth. Take the hoop off whenever you stop for the day.
Frequently asked questions
Can I stitch this border on terry toweling?
Not directly, because the loops swallow the stitches. Use the flat woven band that many towels have near the end, or choose a flat-weave tea towel instead.
How many strands should I use on a fine napkin?
Two strands suit most napkin-weight cotton and linen. On very fine or sheer fabric, drop to one strand for the base line and stalks so the border does not look heavy or pull the cloth.
Does the border have to go all the way around?
No. A border along one edge, or an L shape around a single corner, takes a fraction of the time and still reads as a finished design. Center it on the edge so it ends the same distance from both sides.
How should I wash embroidered napkins?
Wash in cool water with a mild detergent and avoid wringing. Press them face down on a folded towel while slightly damp so the stitches are not flattened.