How to Transfer Embroidery Designs to Fabric: Three Methods
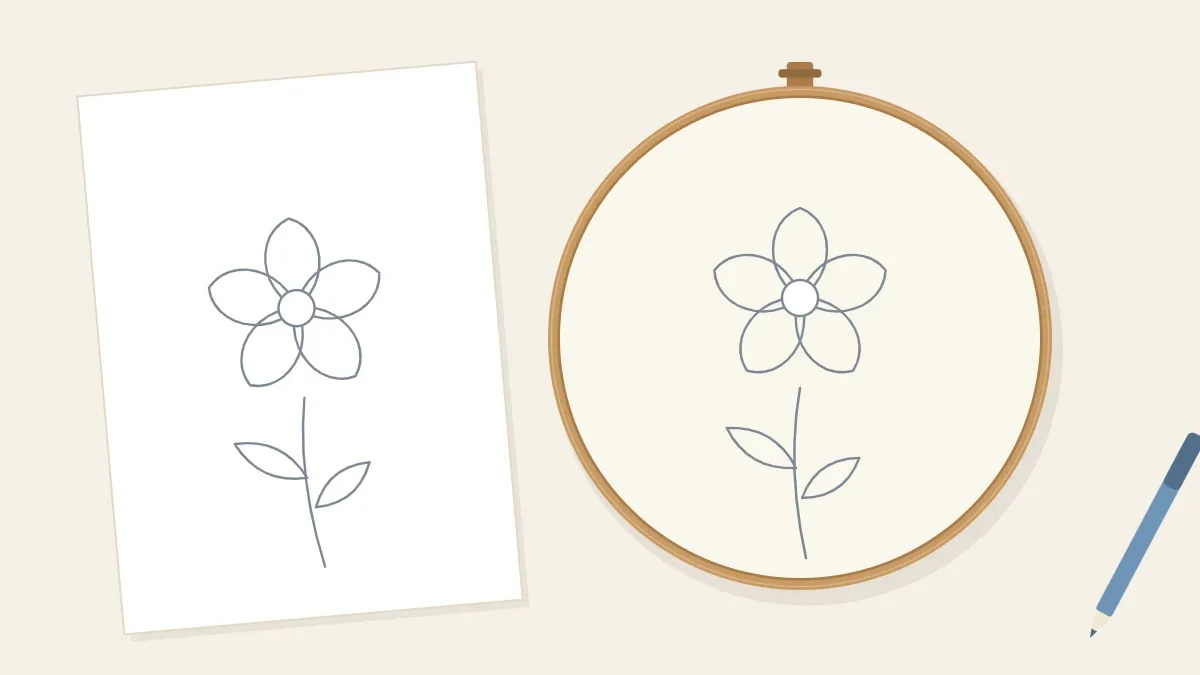
Three ways to get a drawn flower onto fabric: tracing over a light source, transfer paper and stick-on water-soluble stabilizer, with advice on which suits light or dark cloth.
Tutorial at a glance
Materials
- Paper design drawn in black fine-tipped marker
- Pressed fabric
- Fine-tipped water-soluble pen
- Low-tack tape
- A bright window or light box
- Wax-free transfer paper and a ballpoint pen (for dark fabric)
- Stick-on water-soluble stabilizer (for dark or textured fabric)
Stitching follows lines, so the drawn design has to move from paper to cloth before a needle is threaded. There are three practical ways to do it at home: trace the design through the fabric with a light behind it, press it on with transfer paper, or stick a printed sheet of water-soluble stabilizer on top and stitch straight through it. The choice mostly depends on whether light can pass through the fabric, and on whether the finished piece can be soaked in water.
Prepare the design and the fabric
Go over the paper design with a black fine-tipped marker so the lines are bold enough to see through cloth. If you are still sketching, the guide to drawing flower embroidery patterns explains how to keep shapes simple enough to stitch. Press the fabric flat, because a crease shifts every line drawn across it.
To center the design, fold the fabric in half both ways and pinch the folds to leave a faint cross. Mark the middle of the paper design with a small cross too, and line the two up. Transfer before the fabric goes into the hoop, so it can lie flat on a hard surface.
Three methods compared
| No. | Method | Works best on | How the marks come off |
|---|---|---|---|
| 1 | Tracing over light | White and pale fabric, light to medium weight | Rinse in cool water |
| 2 | Transfer (carbon) paper | Dark, thick or opaque fabric with a smooth surface | Mostly covered by stitching; the rest washes or brushes away |
| 3 | Stick-on stabilizer | Dark or textured fabric, clothing, very detailed designs | The whole sheet dissolves in lukewarm water |
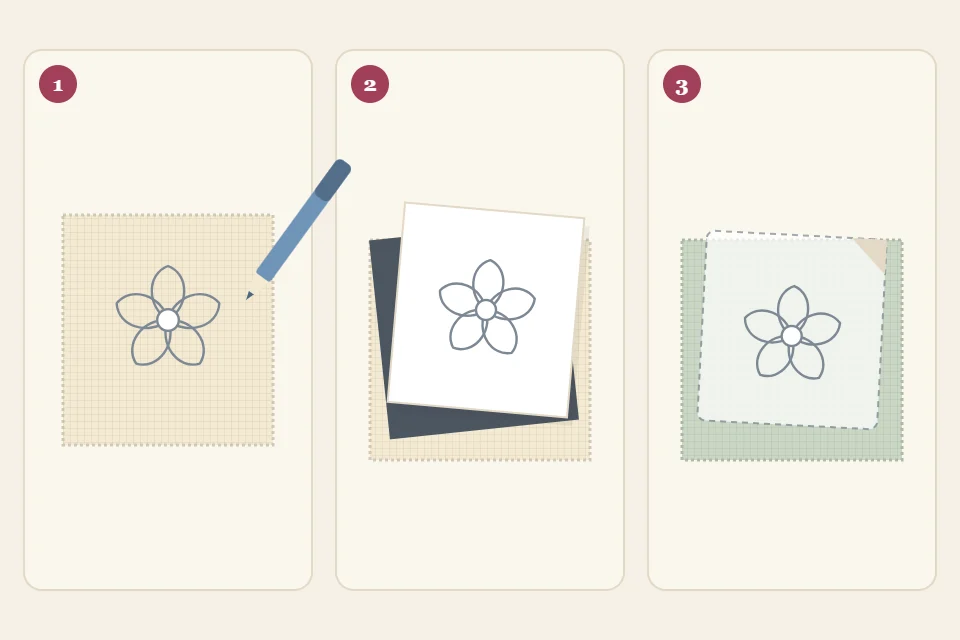
Method 1: tracing over a light source
Light shining from behind makes pale fabric translucent enough to trace through. A light box is convenient, but a window on a bright day works the same way.
- Fix the paper to the light. Tape the design to the window glass or the light box at all four corners.
- Lay the fabric over it. Match the center marks, smooth the cloth without stretching it, and tape its corners as well.
- Trace with a light touch. Use a fine-tipped water-soluble pen and let it glide. Pressing hard drags the weave and thickens the line.
- Work from the top down. Rest your hand on a clean sheet of paper so it does not smear lines already drawn.
- Check before untaping. Lift one corner of the fabric and compare it with the paper. A missed petal is hard to realign later.
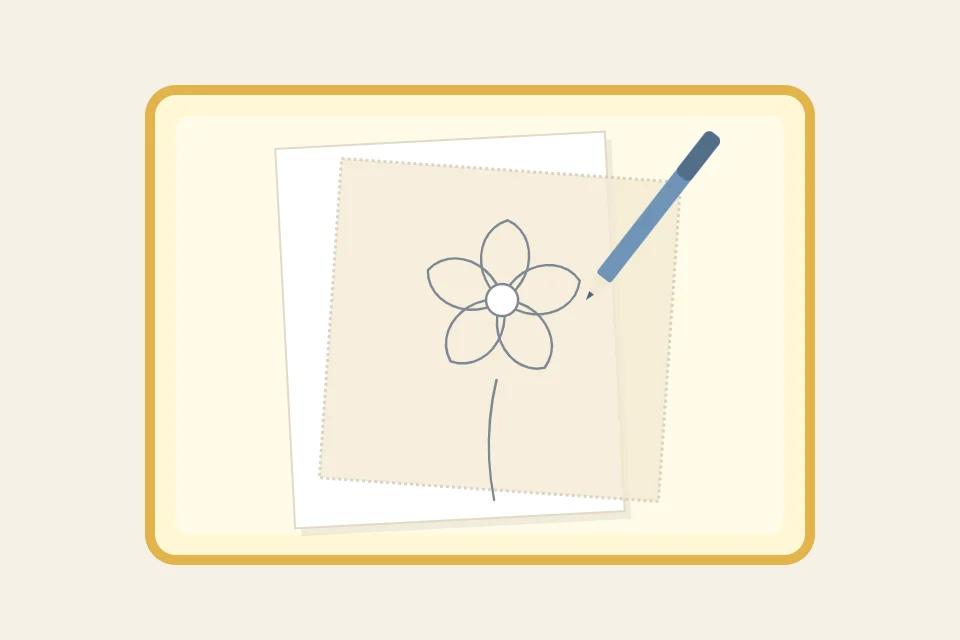
Aim for the thinnest line you can see, since stitches in 2 strands of six-strand cotton embroidery floss are barely wider than a pen line.
Method 2: transfer paper
Transfer paper, sometimes called dressmaker’s carbon, is coated on one side with a colored, wax-free layer that moves onto fabric under pressure. Pick a color that contrasts with the cloth: white or yellow for dark fabric, blue or gray for light.
- Stack the layers on a hard table. Fabric goes face up, transfer paper coated side down, and the paper design on top.
- Tape or pin one edge. The layers must not shift, but you need to be able to lift the others to look underneath.
- Trace firmly with a ballpoint pen. Go over each line once, steadily. Keep the heel of your hand off the stack, since any pressure leaves a smudge of color.
- Peek, then separate. Lift the free edge and redo any faint section before removing the tape.
These lines sit on the surface and rub away with handling. Re-draw fading lines with a chalk pencil as needed.
Method 3: stick-on water-soluble stabilizer
This is a thin, fabric-like sheet with a peel-off backing. Draw the design on the sheet, cut around it leaving a 1/2 inch (12 mm) border, peel, and smooth it onto the fabric. Then hoop the fabric and stitch through both layers. When the stitching is finished, soak the piece in lukewarm water and the sheet dissolves.
It keeps fine detail crisp on fabric that suits neither of the other methods. The trade-offs:
- The adhesive can coat the needle. Wipe it with a damp cloth when it starts to drag.
- Stitches rest on the sheet, so they may sit a little loose once it dissolves. Pull each stitch snug as you go.
- Draw with a pencil or a waterproof pen. Water-based ink can run into pale floss during soaking.
- The finished piece has to tolerate a full soak, so check the floss for colorfastness first.
Light fabric or dark fabric?
Hold the fabric over the design against a window. If the lines are visible, trace: it is the cheapest method and the marks rinse out fully. If the lines disappear, as they do with navy, black or heavy linen, use white transfer paper on a smooth weave or stick-on stabilizer on a textured one. This is one reason the fabric guide recommends a pale, medium-weight ground for first projects.
Removing the marks
Take the work out of the hoop and hold it under cool running water until every trace of pen is gone. Dabbing with a damp cloth often pushes the ink into the surrounding fibers, where it reappears as the fabric dries. Rinse before any ironing, because heat can set some inks permanently. Pencil should be treated as permanent and kept hidden under stitching. Drying and pressing afterward are covered in finishing a piece in its hoop.
Watch out
Marking tools behave differently on different fibers. Draw a few lines on a scrap of the project fabric, let them sit for an hour, then rinse and press the scrap. If a ghost line remains, switch tools before starting the real piece.
Troubleshooting
- The traced flower is lopsided. The fabric crept while you traced. Rinse out the lines, dry, press and tape all four corners next time.
- Transfer paper leaves gray smudges. Your hand pressed on the stack. Brush the area with a clean, dry cloth and wash the finished piece.
- The stabilizer lifts at the edges. Tack the corners down with a few long basting stitches that you remove before soaking.
- Lines vanish before the stitching is done. Air-erasable pens fade within days; use a water-soluble pen.
- The design distorts once hooped. The fabric was pulled off-grain. The fix is in the hoop guide.
Frequently asked questions
Can I transfer a design after the fabric is already in the hoop?
Yes, for tracing. Hoop the fabric upside down so the cloth sits flush with the bottom of the rings, lay it flat on the design over a light source, trace, then re-hoop it the right way up.
Does the design need to be reversed before transferring?
Not for these three methods, because each one puts the design on the front of the fabric the same way round as the paper. Only iron-on transfers, which are pressed face down, need a mirrored image.
How do I resize a design to fit a different hoop?
Enlarge or reduce it on a copier or printer before transferring, or redraw it on a grid. Leave at least 3/4 inch (2 cm) of clear fabric between the design and the hoop.
Is a regular pencil safe for marking embroidery fabric?
It works on pale fabric if the lines are very light and will be fully covered by stitches. Graphite can smudge onto pale thread and usually does not wash out, so avoid it for open designs.