Embroidery Supplies for Beginners: The Six Things You Need
A hoop, woven fabric, cotton floss, needles, small scissors and a marking pen are enough to stitch a first flower. Here is what to choose for each and what can wait.
Tutorial at a glance
Materials
- 6-inch (15 cm) wooden or bamboo embroidery hoop
- Medium-weight, non-stretch cotton or cotton-linen fabric
- Six to eight skeins of six-strand cotton embroidery floss
- Mixed pack of embroidery (crewel) needles, sizes 3 to 9
- Small embroidery scissors with pointed blades
- Fine-tipped water-soluble pen
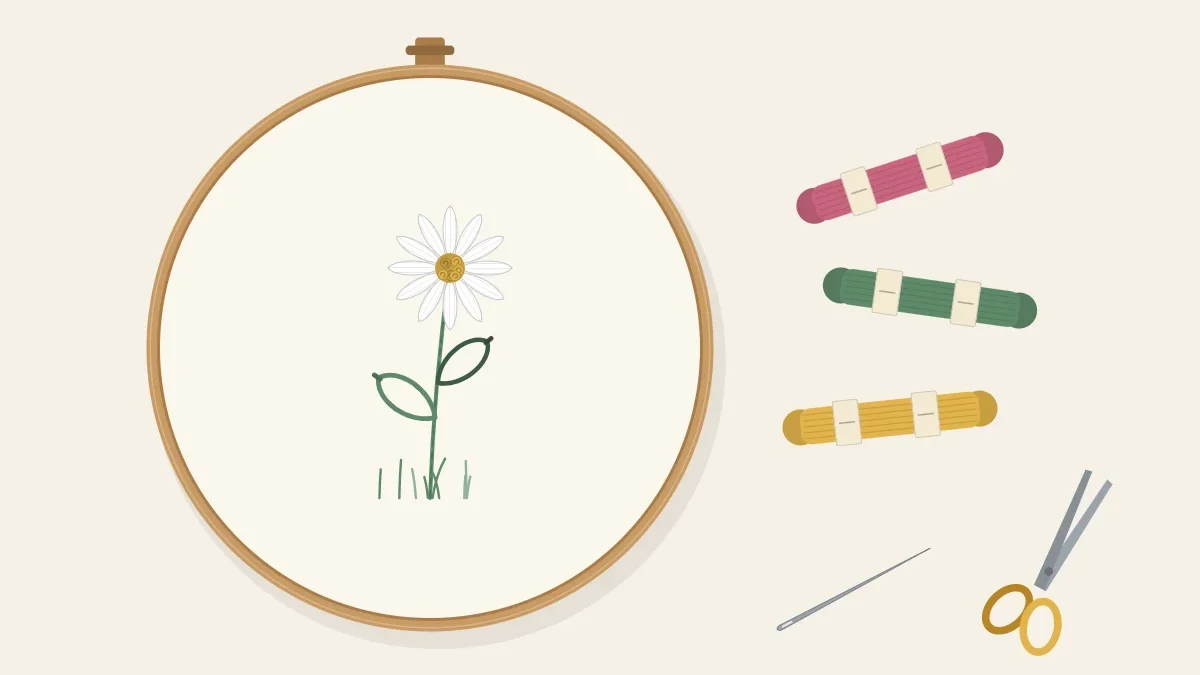
Hand embroidery needs very little equipment. Six items cover every flower taught on this site: a hoop, a piece of woven fabric, six-strand cotton embroidery floss, a few needles, small sharp scissors and something to draw the design onto the cloth. None of it has to be the expensive version. What matters is that each item is the right type and size, because most early frustrations (thread that shreds, fabric that puckers, lines that refuse to wash out) come from a mismatched tool, not from poor technique.
The six essentials at a glance
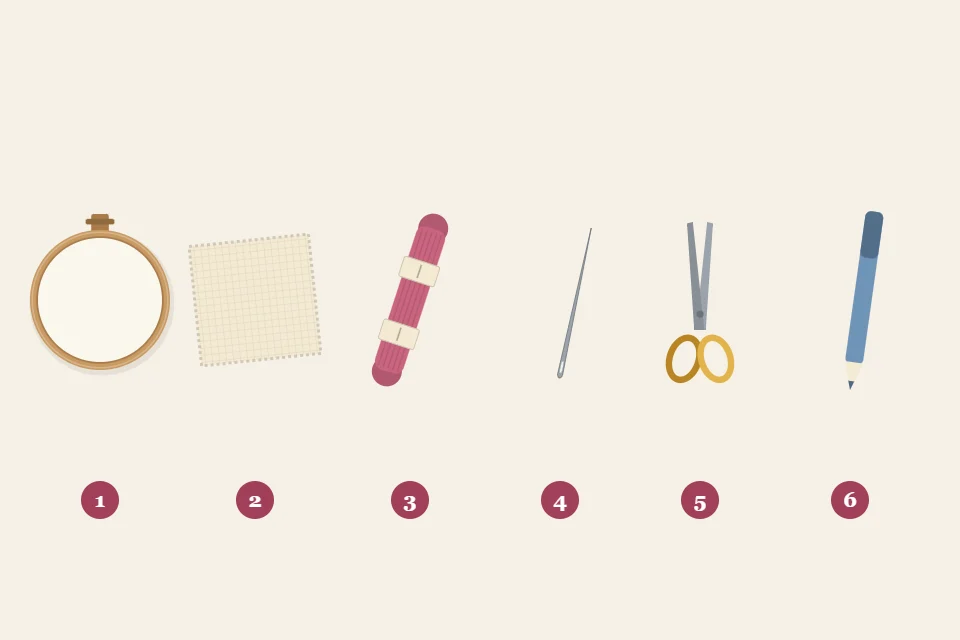
The numbers in the table match the numbers in the illustration below it.
| No. | Item | What to get first |
|---|---|---|
| 1 | Hoop | One 6-inch (15 cm) wooden or bamboo hoop with a screw |
| 2 | Fabric | Medium-weight, non-stretch cotton or cotton-linen blend, cut 10 inches (25 cm) square |
| 3 | Floss | Six to eight skeins of six-strand cotton embroidery floss |
| 4 | Needles | A mixed pack of embroidery (crewel) needles, sizes 3 to 9 |
| 5 | Scissors | Small embroidery scissors with pointed blades |
| 6 | Marking pen | A fine-tipped water-soluble pen |
Hoop and fabric: the working surface
A hoop is two rings that trap the fabric between them and hold it taut, so each stitch sits flat instead of pulling the cloth into ridges. One 6-inch (15 cm) hoop is enough to begin: it is small enough to hold in one hand and large enough for a design about 4 inches (10 cm) across. Before buying, press the two rings together and look for gaps between them. The steps for loading it are in the guide to using an embroidery hoop.
For fabric, choose a plain woven cotton or cotton-linen blend in white, cream or a pale solid color. Woven cloth does not stretch along the grain, a needle passes between its threads without effort, and a pale ground lets a drawn design show through for tracing. A half yard (about 45 cm) cut from the bolt gives four 10-inch (25 cm) squares. Weave, weight and prewashing are covered in the fabric guide.
Floss: a small, useful palette
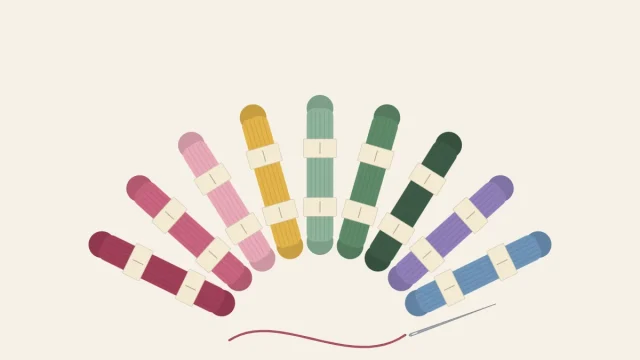
Six-strand cotton embroidery floss is sold in skeins of about 8.7 yards (8 m). The six strands are only loosely twisted together, so they can be pulled apart and used in any number; most flowers here use 2 or 3 strands, which makes one skein go a long way. Rather than a boxed set of a hundred colors, pick six to eight skeins that work together: a light and a dark green, white, a golden yellow, a light and a dark version of one flower color, and a brown for centers and branches. Choose cotton with a soft sheen and leave slippery rayon and metallic threads for later, since they fray and untwist far more readily. The embroidery thread guide explains how to separate strands without tangles.
Needles: match the eye to the thread
Embroidery needles, also sold as crewel needles, have a sharp point and a long oval eye that accepts several strands at once. They are numbered 1 to 10, and a higher number means a finer needle. Use a size 7 or 8 for 2 to 3 strands and a size 5 for 4 to 6 strands; a mixed pack covers both.
The fabric tells you whether the size is right. If the floss drags or makes a popping sound as it passes through, the needle is too fine to open a big enough hole, and the floss will wear thin. If the needle leaves a visible hole around each stitch, it is too thick. Blunt tapestry needles are for counted work on open-weave cloth and can stay on the shelf.
Watch out
Store needles in a scrap of felt or a lidded tin, never loose on a sofa or table, and count them back in at the end of a session. Keep needles, pointed scissors and thread trimmings out of reach of children and pets.
Scissors: small, sharp and kept for thread
Embroidery scissors have short, pointed blades, usually about 1 1/2 inches (4 cm) long. The fine tips reach under a single stitch to snip out a mistake and trim thread tails close to the fabric. Sharpness matters more than decoration: a clean, square cut end slides through a needle eye, while a chewed end splits into fibers that will not. Keep these scissors for thread only and cut fabric with ordinary sharp household shears, because paper and heavy cloth dull fine blades quickly.
A way to mark the fabric
Unless you stitch freehand, the design has to be drawn on the cloth. On pale fabric the simplest tool is a fine-tipped water-soluble pen, whose lines rinse away in cool water once the stitching is done. A sharp, hard pencil used with a very light hand is a workable substitute, but graphite does not reliably wash out, so every line must end up covered by stitches. Dark fabric needs a white or yellow marking tool instead. Whatever you use, test it on an offcut of the same fabric first. The methods themselves, including tracing against a window, are set out in how to transfer embroidery designs.
What to skip at first
- Extra hoop sizes. Add a 4-inch (10 cm) or 8-inch (20 cm) hoop when a specific design calls for one.
- Hoop stands and clamps. Useful for two-handed techniques, unnecessary for small flowers held in the hand.
- A light box. A sunny window does the same job for free.
- Large floss sets and storage systems. Eight skeins fit in a zip bag.
- Specialty threads. Metallic and silk threads are easier once tension feels natural.
Setting up for the first session
- Cut and press the fabric. Cut a 10-inch (25 cm) square along the grain and iron out the creases.
- Draw the design. Work on a hard, flat surface and center the drawing before the fabric goes into the hoop.
- Load the hoop. Tighten until the fabric sounds like a small drum when tapped.
- Cut the floss. Measure about 18 inches (45 cm), roughly fingertips to elbow, and separate 2 or 3 strands.
- Thread a size 7 needle. Leave a 3-inch (8 cm) tail hanging through the eye and knot the long end.
- Sit in good light. Daylight, or a lamp placed on the side opposite the stitching hand, keeps the hand’s shadow off the work.
Frequently asked questions
Is a boxed embroidery kit better than buying supplies separately?
A kit is convenient, but buying the six items separately lets you pick the hoop size, fabric and colors yourself, and the tools carry over to every later project. Either route works as long as the fabric is a non-stretch woven and the thread is cotton floss.
Can I use ordinary sewing thread and a sewing needle?
Sewing thread is too fine to cover fabric at flower scale, and most sewing needles have an eye too small for several strands of floss. Embroidery needles and six-strand floss are inexpensive and make the stitches far easier to form.
How often should embroidery needles be replaced?
Replace a needle when it bends, when the point starts to catch on the fabric, or when the plating wears and it no longer glides. A pack of mixed sizes usually lasts through many projects.
Do I need a thimble for hand embroidery?
Not for medium-weight cotton or linen, where the needle passes through with light pressure. A thimble helps mainly on dense fabric or if a fingertip becomes sore from pushing the needle.