How to Finish an Embroidery Hoop for Display
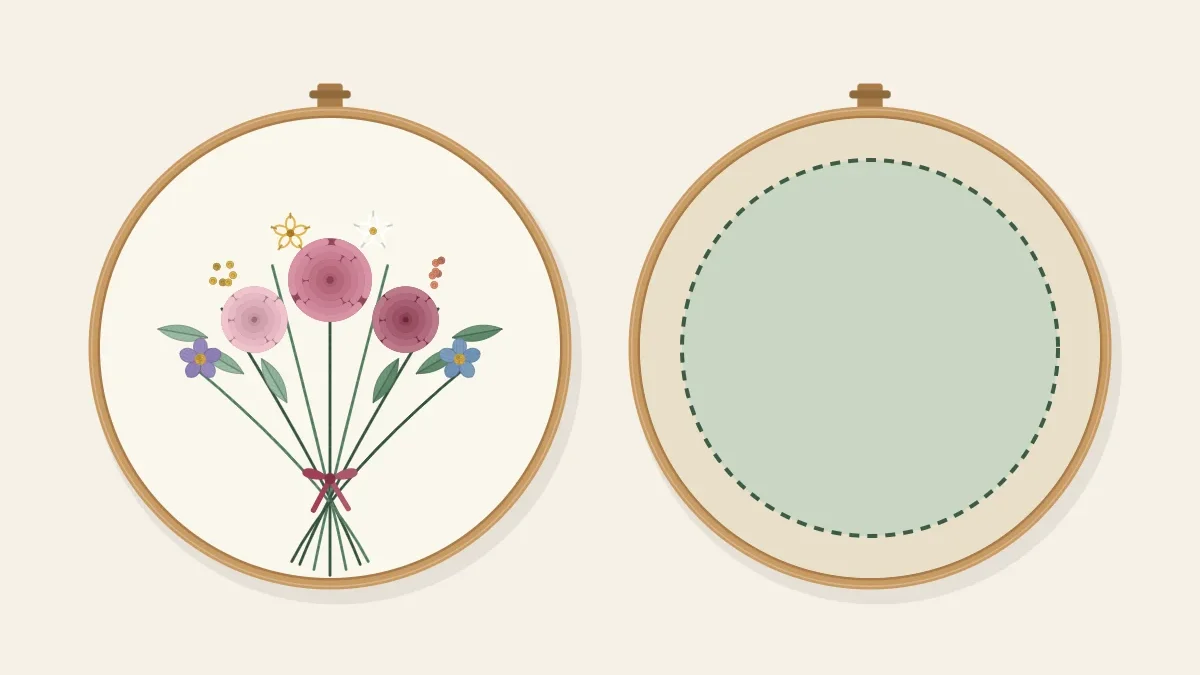
Rinse out the marks, press face down on a towel, re-center the fabric, then trim and gather the back so the hoop becomes the frame.
Tutorial at a glance
Materials
- Finished embroidery and its wooden display hoop
- Cool water and mild liquid soap
- Two clean, light-colored towels
- Iron
- Fabric scissors and ruler
- Strong sewing thread or two strands of floss, about 30 in (75 cm)
- Needle
- Felt square, pencil and matching floss (optional)
The hoop that held the fabric while it was stitched can also be the frame it hangs in. Finishing a piece this way comes down to four jobs done in a fixed order: get the design marks out, press without flattening the stitches, stretch the fabric back into the hoop squarely, and tuck the spare margin behind the inner ring so nothing shows from the front or the side. The order matters because heat can set some marking inks for good, and because fabric trimmed before it is centered cannot be shifted afterward.
Rinse Out the Marks Before Any Heat
Take the fabric out of the hoop and deal with the drawn lines first. Water-soluble pen dissolves in plain cool water: lay the piece in a basin for five to ten minutes, swish it gently, and check that no blue or purple shadow remains beside the stitches. If the fabric has picked up hand oils or a gray ring where the hoop sat, add one drop of mild soap, press the suds through with your fingertips, and rinse until the water runs clear.
Marks made another way need different treatment, and the guide to transferring embroidery designs covers how each method comes out. If a strong color starts to tint the water, keep rinsing under cool running water until it stops and do not let the piece sit wet in a heap; the thread guide explains how to test floss for colorfastness before the next project.
Lay the wet embroidery flat on a towel, roll the towel up like a sleeping bag, and press along the roll to take out most of the water. Unroll it while the fabric is still evenly damp.
Press Face Down on a Towel
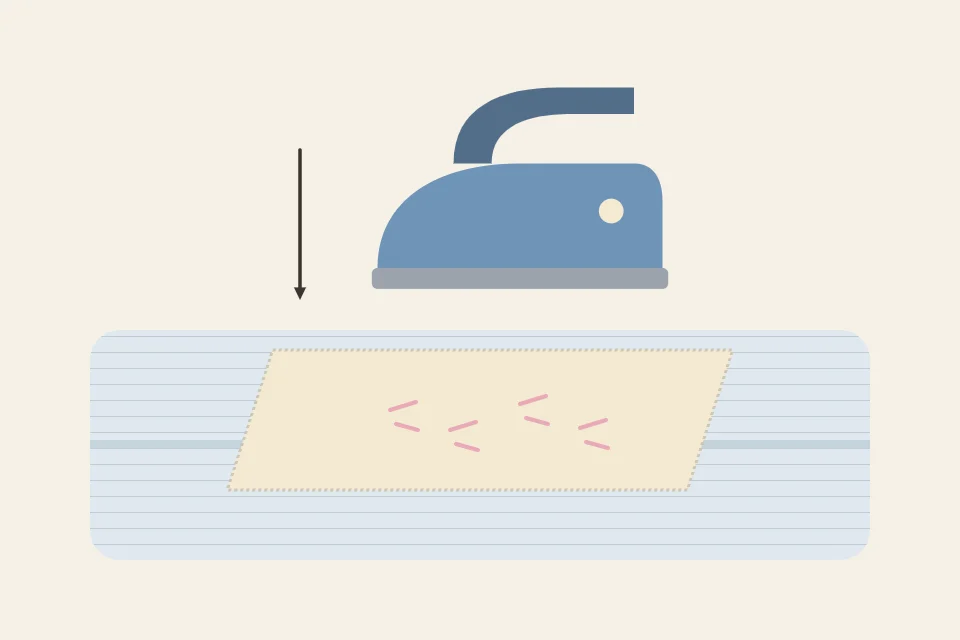
Stitches have height, and an iron pushed over the front crushes them flat and shiny. Pressing from the back onto something soft lets knots and raised stitches sink into the padding while the fabric around them is smoothed.
- Pad the surface. Fold a dry towel in half and lay it on the ironing board.
- Place the embroidery face down. Smooth it with your palms so the weave runs straight, not on a slant.
- Set the iron for the fabric. Use the cotton or linen setting, and try it on a scrap or a corner of the margin first.
- Press, lift, move. Lower the iron, hold for a few seconds, lift it and set it down on the next area. Sliding the iron can drag the design out of shape.
- Finish the margins. Work outward until the whole piece is flat and nearly dry, then leave it lying flat to finish drying.
Re-Center and Tighten
Decide which way is up before the fabric goes back in. The screw normally sits at the top, where it doubles as a hanger, so turn the outer ring until the screw lines up with the top of the design. Lay the fabric over the inner ring, press the outer ring on, and tighten the screw only halfway.
Now measure. The gap between the outermost stitches and the wood should be the same on the left and right, and the same at top and bottom unless the design was planned off-center. Check the weave as well: a fabric thread followed across the hoop should run level instead of bowing. Ease the fabric a little at a time, pulling straight along the grain and never diagonally, then tighten fully. Because this hoop will not be opened again, a screwdriver in the slot of the screw is worth the extra quarter turn. The steps for getting fabric drum-tight are in the guide on how to use an embroidery hoop.
Trim and Gather the Back
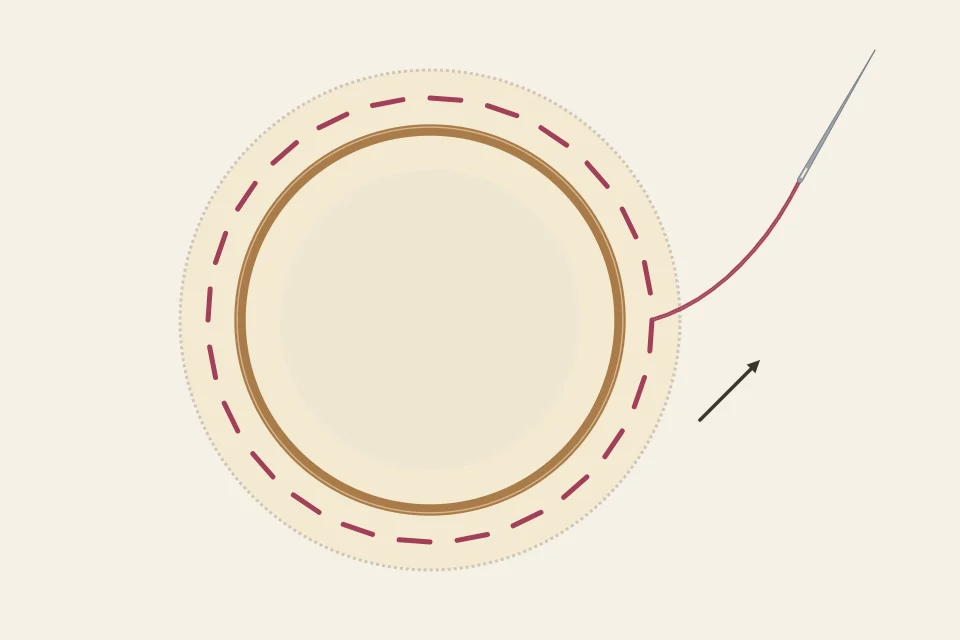
- Trim to an even margin. Turn the hoop over and cut the fabric in a circle 1 to 1 1/2 inches (2.5 to 4 cm) beyond the ring. Less than 1 inch is hard to gather; much more makes a bulky bunch.
- Thread up a long length. A 6-inch hoop measures about 19 inches around, so cut roughly 30 inches (75 cm) of strong thread and knot one end.
- Sew running stitches. Work about 1/4 inch (6 mm) in from the cut edge, with stitches around 3/8 inch (1 cm) long, all the way around the margin.
- Pull to gather. Draw the thread up steadily so the margin folds inward over the inner ring and lies flat against the back.
- Fasten off. Take two or three small stitches on top of each other through the gathers and cut the thread.
Tip
Gathering is reversible. Snip the running thread and the piece can come out of the hoop for washing or framing later, which is not true of a glued margin.
Add a Felt Backing
A felt circle hides the gathers and the back of the stitching, and it is optional. Trace around the inside of the inner ring onto felt with a pencil, then cut just inside the line so the circle sits within the wood. Lay it over the gathered fabric and sew it down with two strands of floss, using small whipstitches that catch the edge of the felt and the fold of the fabric beneath, spaced about 1/4 inch (6 mm) apart.
Troubleshooting
| Problem | Likely cause | Fix |
|---|---|---|
| Pen lines reappear after drying | Ink was diluted, not rinsed away | Soak again in fresh cool water before pressing |
| Ripples around the stitching in the hoop | Fabric pulled on the diagonal | Loosen, straighten the grain, re-tighten from opposite sides |
| Stitches look flat and shiny | Pressed from the front or without padding | Dampen the area and lift the stitches gently with a needle tip |
| Margin shows from the side | Running stitches too far from the edge | Add a second gathering row nearer the cut edge |
| Dark fabric edge shadows through the front | Margin folded behind a pale, thin fabric | Trim narrower; for next time, see the fabric guide on weight |
Caring for a Hoop on Display
A hooped piece has no glass in front of it, so its care is mostly about placement. Hang it away from direct sun, which fades floss and fabric unevenly, and away from kitchens and bathrooms, where steam and grease settle into the threads. Dust it every few weeks with a soft, clean brush, working in the direction of the stitches. If the fabric slackens over time, a slight turn of the screw usually restores the tension.
Frequently asked questions
Can I glue the fabric to the back of the hoop instead of gathering it?
Glue holds, but it is permanent and can discolor fabric over the years. A gathered margin takes about ten minutes and lets you remove the piece later for washing or a different frame.
Should I paint or stain the hoop before finishing?
If you want a colored hoop, treat the outer ring on its own before the final assembly and let it dry completely. Wet paint or stain will transfer to the fabric edge.
Do I have to wash the embroidery if I did not use a pen?
No. If there are no marks and the fabric is clean, you can skip the rinse, mist the back lightly with water and go straight to pressing face down.
What if the design is too close to the edge to gather?
Sew a strip of plain cotton to each short edge to extend the margin, then gather the added fabric. The join sits behind the ring where it cannot be seen.